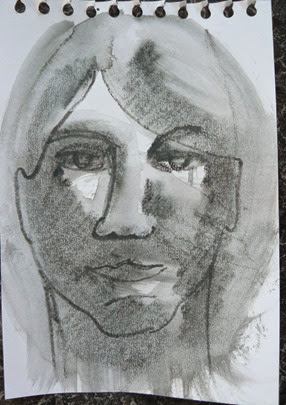
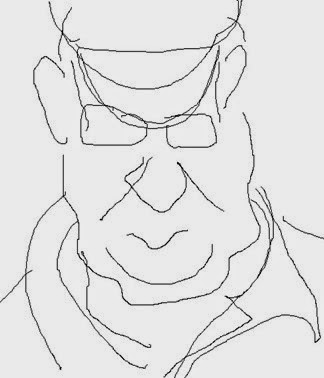
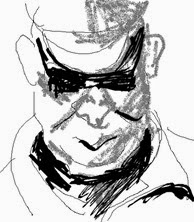
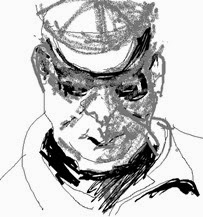
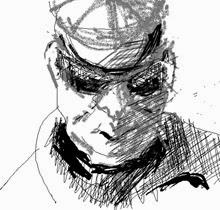
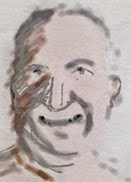
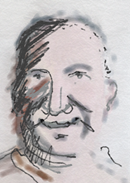
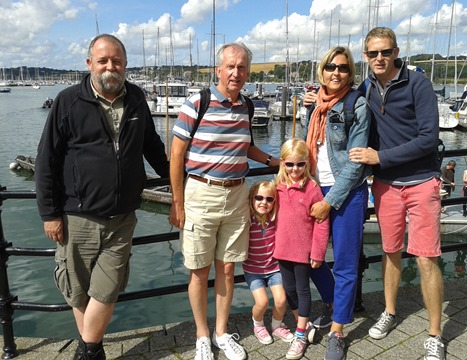
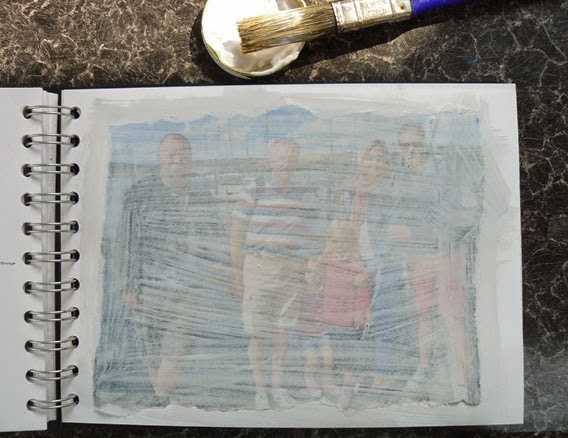
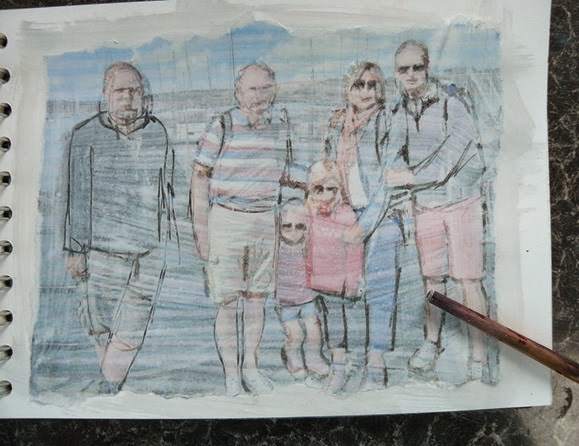
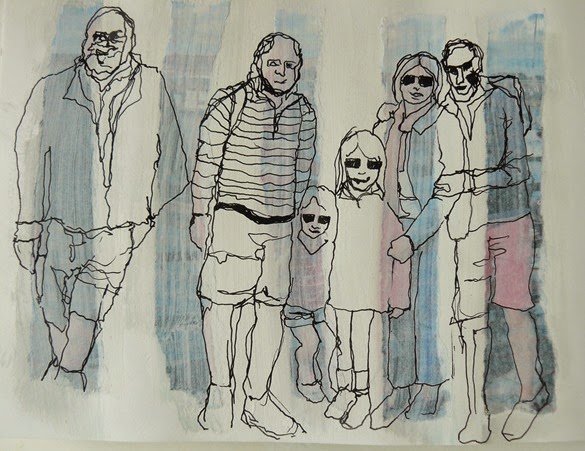
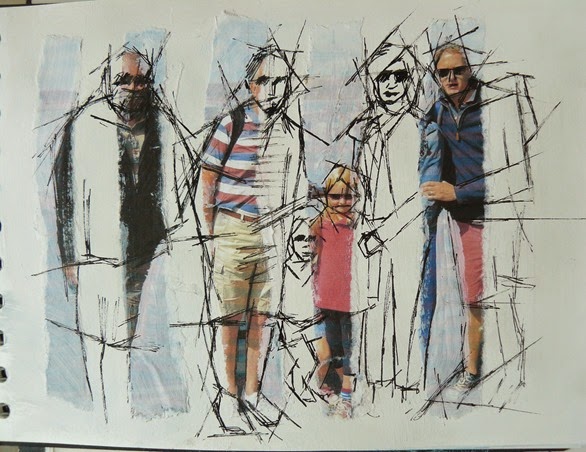
He says I’ve made him look like a fat old man….!
It is nearly the end of September as I write this and the cooler evenings remind me of autumn. This is the last lesson of the Summer Drawing Project and I hope you’ve enjoyed it as much as I have. I will be announcing a competition based on these lessons soon, so keep looking on Facebook for the announcement.
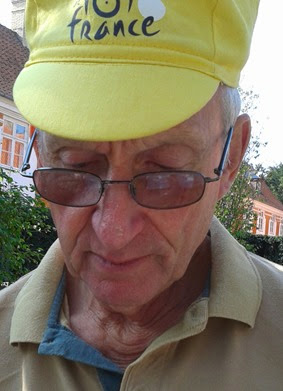
You are going to be asked to take a good look at yourself for this final lesson – or indeed anyone else who will pose for you. My tolerant husband posed for me and I sadly turned him into a fat old man which he is neither. You can also work from a good clear photograph of a face. I took a photo of my own face on my phone and then drew from that. The screen was a little small but a good alternative if you don’t have a mirror to hand.
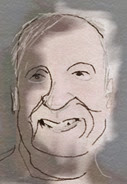
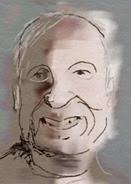
I’ve also discovered an interesting way of working straight from a digital photo by making digital marks onto a faded outline of your face image. I used the larger screen of my tablet for this and was able to do several digital drawings by moving my finger around on the tablet screen to make digital marks that looked like the faded face of the person on the screen.
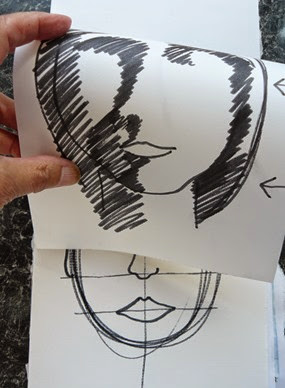
This was a similar process to the first drawing method described here, using an outline of the face placed on a piece of paper under your sketchbook page. More of this later once we have looked at how the human face is generally configured. Our facial features are arranged on a very simple subdivision grid of the head. My father explained this to me when I was small and found this grid very helpful and adaptable to any type of face.
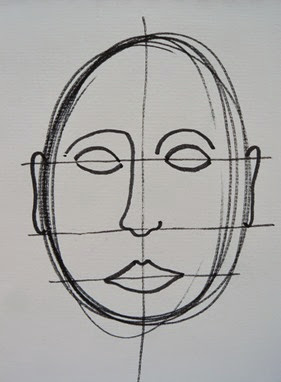
Roughly draw a large oval shape on a separate piece of paper to your sketchbook pages. Sub-divide it in half vertically and horizontally (to define the line of the eyes). Then subdivide the lower section in half again with another horizontal line (to define the bottom of the nose) and another one to define the centre of the lips.
Draw the features in very diagrammatically as on the above left template. Looking at a real face, you can now amend your template. Use a strong marker so that this template is visible through the paper of your sketchbook pages. Perhaps the eyes (on your template of course!) need moving apart or closer? Perhaps the eyebrows need re-shaping? Perhaps the nose needs lengthening/shortening/broadening? Perhaps the lips need re-shaping or moving higher/lower? Perhaps the ears need moving upwards/downwards or making larger/smaller?
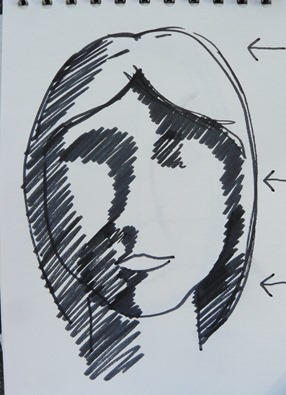
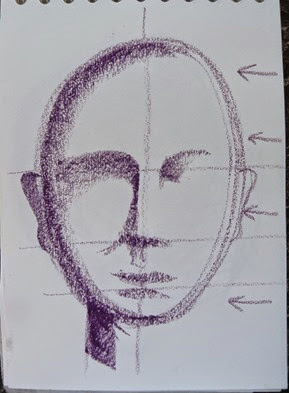
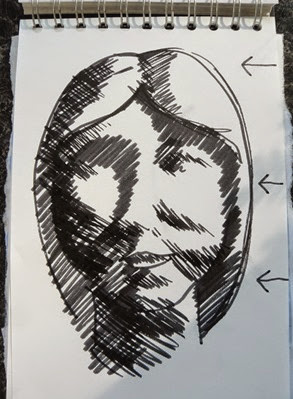
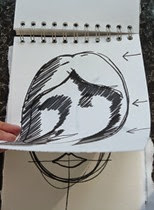
Using your personalised face template you can now start to make it look as if it is a rounded 3 dimensional surface. The two drawings below have been worked from a template under the page but only shading has been added to suggest the way the face is a rounded form with dips and bumps that show light and dark tones and cast shadows. Feel your face with your finger tips and you’ll find that the eye socket are dips and the nose is a bump, which might not surprise you! The direction of the light in these two faces drawings is from the right, so all the surfaces that face away from the light will be in shade. Place a lamp to one side of your face and note where your features cast shadows. You’ll recall several different drawing methods from last week’s lesson on how to create a feeling of a rounded surface with different types of markers. Try different media and see how you get on.
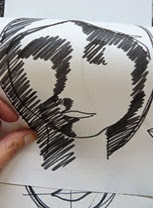
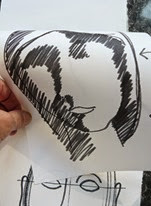
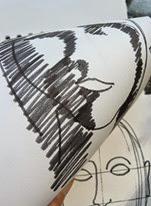
The shading in the drawing above left has been done with a thick felt marker and the one on the right with the side of an oil pastel which allowed more subtle degrees of shading. But the felt pen can be made to create different degrees of tonal differences by using it to ‘cross-hatch’ – see below left. A strongly contrasting drawing can be used as a new template by placing it under a new page and developing further drawings.
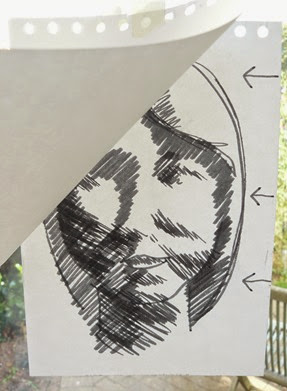
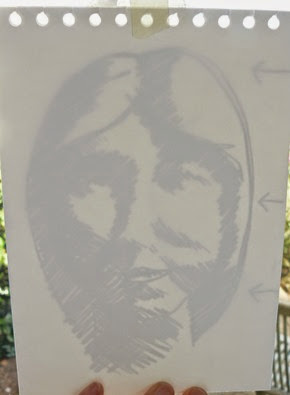
You can also place a template drawing onto a window and tape another piece of paper over it to help the light give you a clearer template – see below left. This then allows you to draw the tonal areas in different ways.
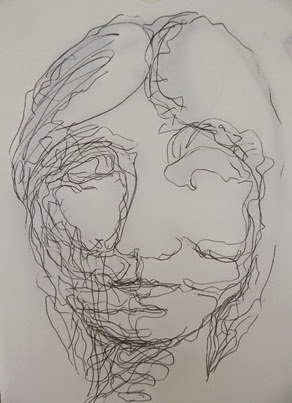
The meandering lines of the drawing pen on the left traces and fills in the tonal areas seen on the template above onto a new page. A water-soluble pencil shaded in the darker areas from the template on the drawing below right and then water applied with a clean brush to blend the edges of the dark tones. Whichever media you use, the golden rule (according to father) is never to spread your dark tone too far – always allow areas of the original page to show through to act as the lightest tone. This is important to stop your face looking ‘dirty’.
A fun diversion! I noticed how you can distort a face, by distorting your template. Take a look at these and perhaps you can find a way of making faces with distortions?
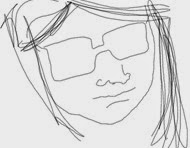
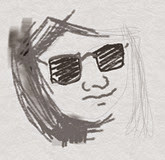
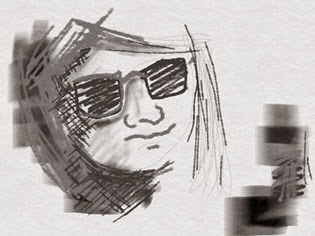
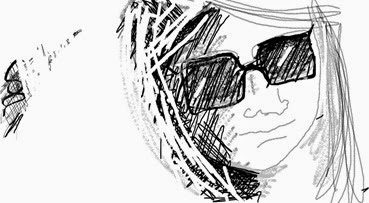
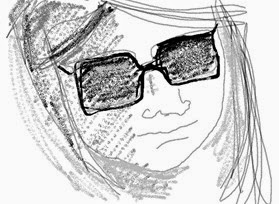
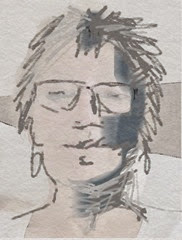
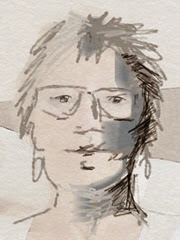
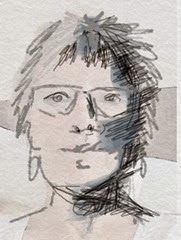
Why not have a go at drawing a portrait using a computer programme instead of paper and traditional markers This series of digital drawings below is based on a photo of one of my ‘grieces’. I had the photo on my computer screen and used my tablet (laptop) to make the drawing on, using my finger to select the type of mark I wished to make – different sizes and textures that relate to different traditional media marks. Firstly make a scribbled drawing of the basic lines and save the one you’re happy with. You can then add to this with further information such as tone and textural areas. Try out your media on the edge of your drawing and discover ways you can vary the marks and what they look like on top of each other – its great fun. If you don’t like what you’ve just done, just go back a stage or two. Remember to keep saving your drawing at different stages and give them a slightly different name.
I enjoyed discovering the ‘eraser’ which gave white lines as you can see in the hair, below left. Below right was a drawing that I went back to the first linear drawing and made another start.
My husband nobly posed but sadly claimed I had made him look old and fat.
You might like to investigate if you can open a photograph in your ‘paint’ or ‘draw’ programme which will allow you to add digital marks on top of the photograph. You can draw into an existing photo or maybe find a way of making the original photograph appear as a very feint outline. I selected ‘line’, then ‘feint’ so that the photo almost disappeared but I could still - just about – see some of the features. This was enough of a help to allow me to draw the face in my own marks but still giving a strong impression of a likeness of that person. He still says I’ve made him look old and fat!
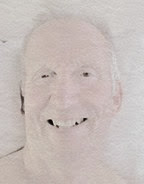
I had better luck working into a photo of my own face! My excuse is that I got better at controlling my drawing finger and was able to select appropriate markers to allow me to scribble into the different areas with control and abandon!
I hope the initial scribbling exercises from lesson 1 onwards have helped you to loosen up the way you use your drawing markers and the hints and tips in the Summer Drawing Project have helped to give you ways of building up your drawing skills. It’s important to be able to have fun an a sense of discovery so you’ll want to draw on a regular basis and become even better and more skilful.
Look out for the competition details in the near future.
