“I’ll call you plum and you can call me pudding”
The human figure is a three-dimensional, rounded form. Last week’s lesson looked at it as a ‘frozen’ still, two dimensional image. To build up drawing skills towards being able to draw figures as if they are three dimensional, we’re going to take a slight detour this week and look at ways of drawing simple 3D forms to give them depth and rounded surfaces. Then perhaps be bold enough to do our self-portrait later!
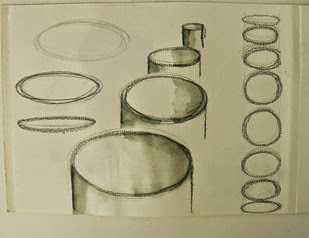
You will already have used shading to suggest the curved surface of cylindrical shapes in an earlier lesson. This will be quite similar except you will now be recording a surface that curves in both directions. Look for a simple rounded form – such as a piece of fruit or an egg shell. Choose a very smooth curved surface without irregularities if possible. I enjoyed drawing egg shells as it was soothing to try to create such a smooth and perfect rounded surface.
Try different media to discover ones you feel you can control to make a very gradual gradient – initially in a smooth tonal strip.
The tonal strip above was made with a charcoal pencil, varying pressure and layers in different directions of mark.
The tonal strip above was made with a fine pen. Variations of pressure is not possible with this implement so layers of lines in opposite directions (called cross hatching) and spacing of lines were the only possible methods of suggesting tonal grading.
The tonal strip above was made using the edge of a short length of oil pastel, by varying pressure and the width of mark by twisting the pastel.
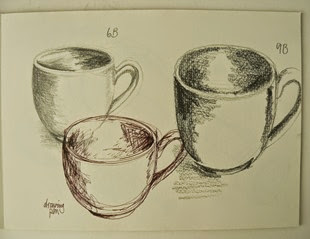
Work near a strong light source – a window or lamp. Start by drawing the outline shape, remembering earlier lessons on hints to help you draw arcs and curved lines. Note the direction of the light source and look for darker areas on the opposite sides away from the light. Also not shadows cast by you shape. If drawing a few shapes together in a group, you’ll probably also notice that they will cast shadows onto a neighbouring surface. Even though these surfaces were smooth, showing the marks of the cross-hatching is a finish you might prefer in these two drawings below.
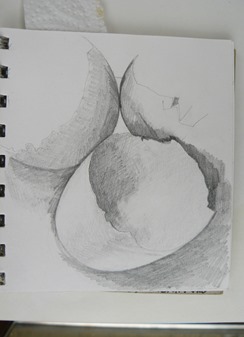
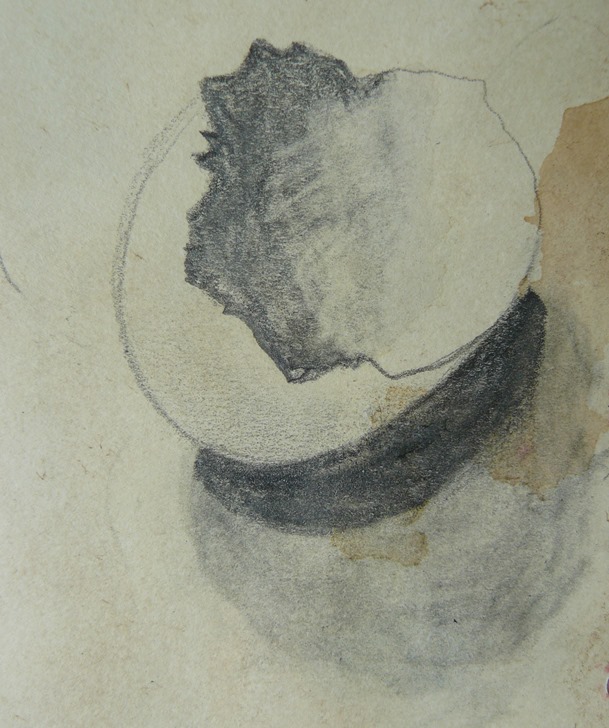
The tonal grading in the drawing below has been made by rubbing away some of the charcoal shading to soften the edges of the shading. A finger was used to gently and subtly suggest the shading on the outside of the shell. Careful not to add too much ‘smudging’ as a drawing can look ‘dirty’.
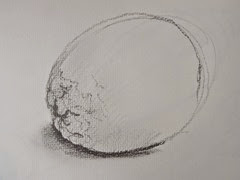
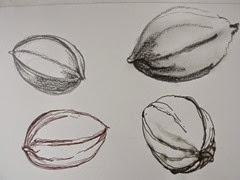
Now choose a rounded form that has some texture. I chose a lemon and a walnut.
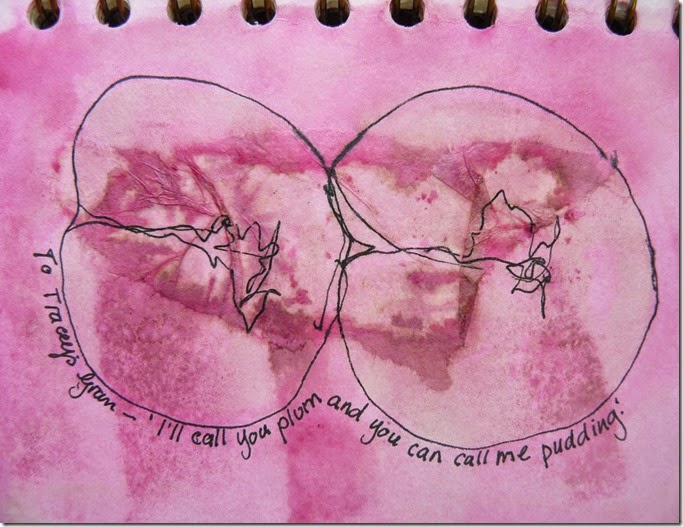
It’s early autumn as I’m writing this so apples and plums are in abundance in my part of the world. I was amused by one of Tracy Emin’s drawings of plums which is where I found my quote from Tracey’s gran – “I’ll call you plum and you can call me pudding”. I realise that this little drawing I did isn’t a 3D drawing but I thought you might be amused to see it. I prepared the page first with a piece of ripped tissue paper (see lesson 17) then a pink wash. When dry, I made a very simple pen drawing of two halves of a plum and added her gran’s quote.
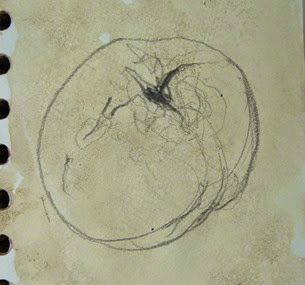
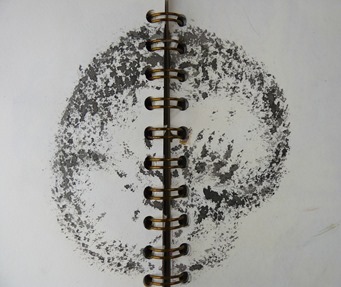
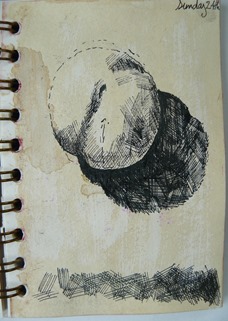
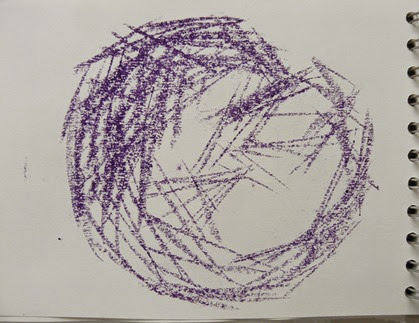
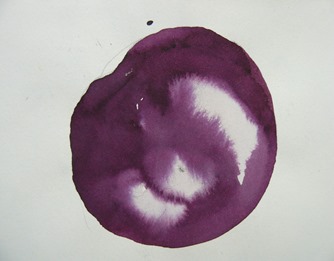
Now to look at ways of drawing plums that look rounded and curved. Notice that some of the pages have been pre-tinted with a pale colour wash or a tea bag sepia tint.
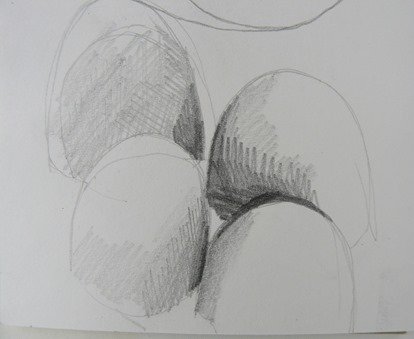
Use a pencil to make ‘scribbly’ lines that suggest the rounded surface and shadows in the dips.
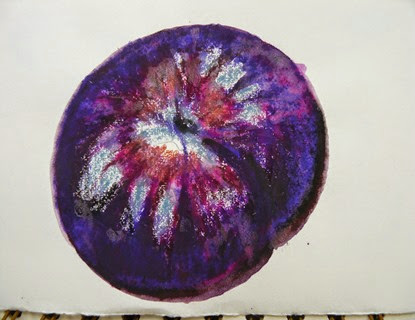
Use a chunky paint brush to stipple the darker tones.
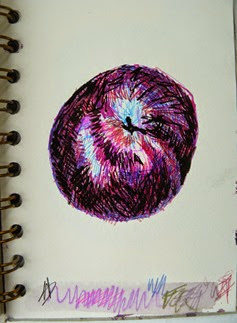
Use a pen to make little blocks of lines that overlap each other and build up the tine in the darker areas – not forgetting any shadows you might see.
Use coloured pens of crayons to build up darker tones and leave voids to suggest the light tones.
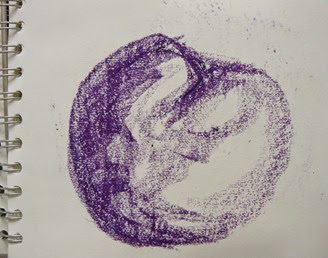
Use the side of a crayon, such as oil pastel. Vary the pressure to make dark and light variations of tone.
I’ve made a short YouTube video to show how to make the painted highlights as shown above right.
If the above link doesn’t work, try this - https://www.youtube.com/watch?v=xd5AGPFXufk


No comments:
Post a Comment